Create project
Head to the Indobase Console.
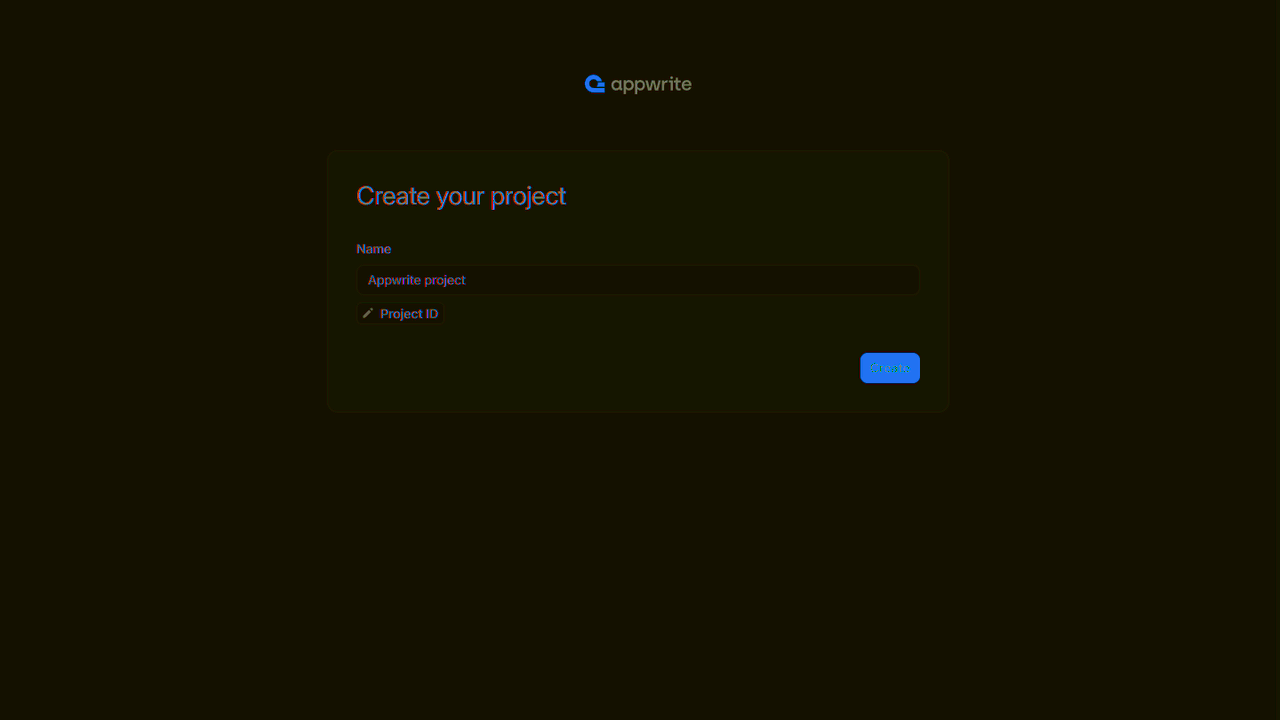
If this is your first time using indobase, create an account and create your first project.
Then, under Add a platform, add a Web app. The Hostname should be localhost.
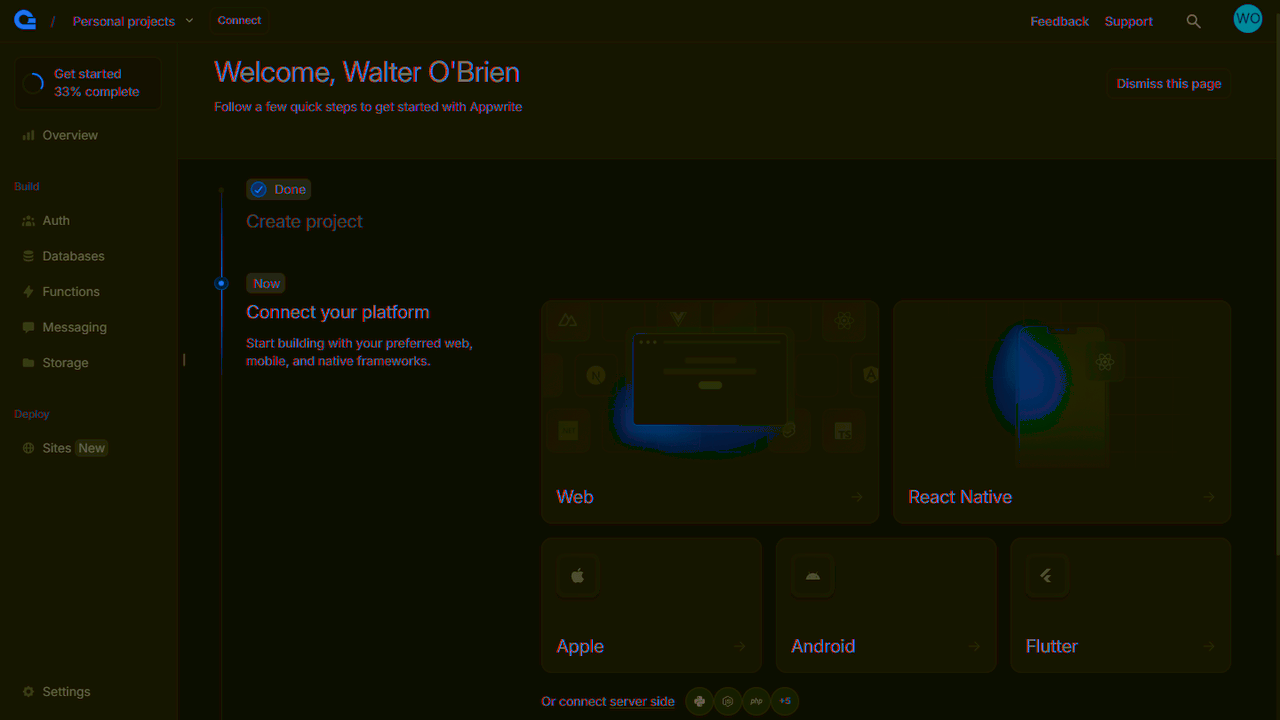

You can skip the optional steps.
Environment variables
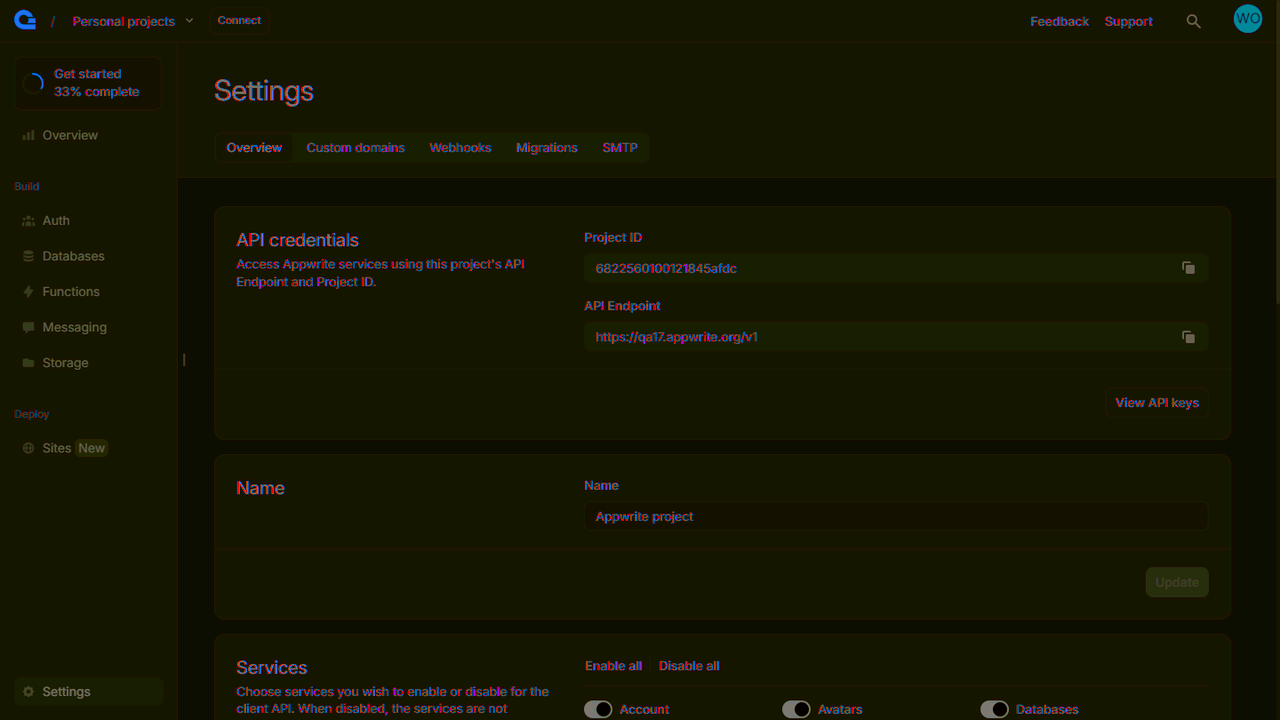
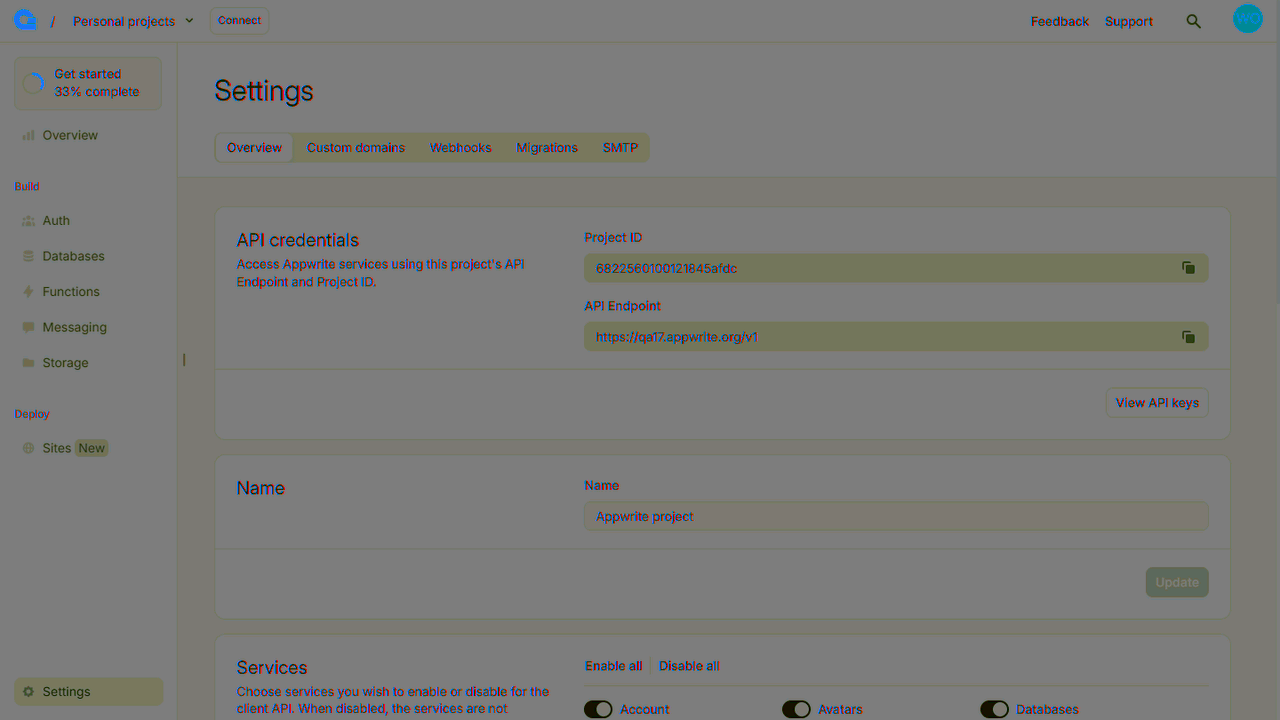
To connect to indobase in our app, we'll need to configure our project endpoint and project ID. We keep the secrets by using environment variables for the endpoint and project ID. Your project ID is located in the Settings page in the indobase console.
Add a .env.local file to the root directory and add the following code to it, replacing PROJECT_ID with your project id.
NEXT_PUBLIC_APPWRITE_ENDPOINT=https://<REGION>.cloud.indobase.io/v1
NEXT_PUBLIC_APPWRITE_PROJECT=PROJECT_ID
Initialize indobase SDK
Create a new file lib/indobase.ts for the indobase related code. Only one instance of the Client() class should be created per app. Add the following code to it.
// lib/indobase.ts

import { Client, Account, TablesDB } from "appwrite";

const client = new Client();

client
    .setEndpoint(process.env.NEXT_PUBLIC_APPWRITE_ENDPOINT!)
    .setProject(process.env.NEXT_PUBLIC_APPWRITE_PROJECT!);

export const account = new Account(client);
export const tablesDB = new TablesDB(client);
export { ID } from "appwrite";